Battenberg Cake
All this madness from our Festival of 50s has given us from great inspiration for yummy treats! Any excuse to sample newly tried out recipes…
As you can imagine there was a lot of choice when we were thinking of what to bake for the festival but something that we kept coming back to was Battenberg cake. Plus as one of our favourites to eat, the choice was pretty simple to make!
After many failed attempts on a certain televised baking competition, a lot of people seem to be scared or intimidated to make this delicious treat at home. So we thought that while we were making our next cake for the Festival of the 50s, we would make a note of our method that we use and share it with you. Even if the construction of the cake goes slightly wrong, at least you are left with yummy cake, best to eat it quick to hide the evidence! I would also like to point out that the photos we have taken are of the cake tins we use in Herron’s Bakery, so a tad larger than what you will be using at home!
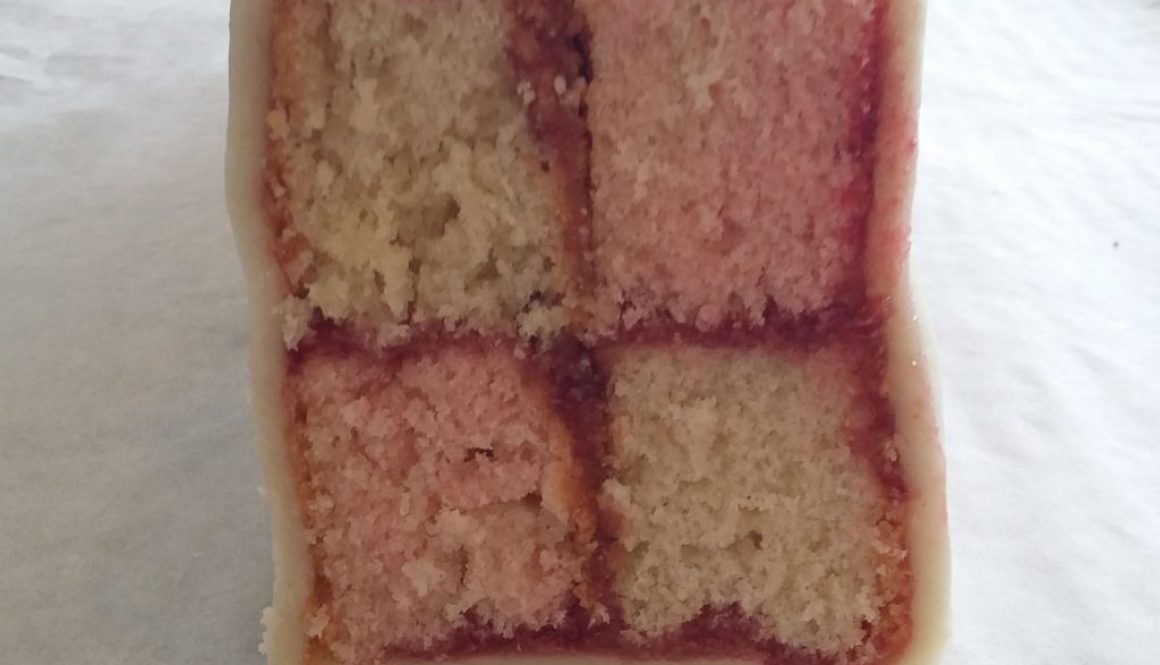
The history of the Battenberg cake is pretty interesting as well, allegedly comes from the cake made in celebration of the 1884 marriage of Princess Victoria (a granddaughter of Queen Victoria) to Prince Louis of Battenberg, with the four squares representing the four Battenberg princes. But this is where the story gets interesting – many early versions of the cake had nine squares not four, and in many recipe books and catalogues that were published in the following years all included the nine square versions. Unless the pastry chefs were using a bit of artistic license to show off, then a trend followed, it doesn’t seem clear.
Names such as window or domino also seems to hang around recipes for the Battenberg, but with the same flavourings, very confusing! The reverting back to the usual four panels after World War Two is another mystery, although it could be suggested that the mass production that became commonplace in the following years would have been a lot easier with less sections.
If you have anything further to add to the origin story of the Battenberg, please let me know! (KatherineHindmarch@beamish.org.uk)
Ingredients
For Pink sponge
6oz Self raising flour
6oz Caster sugar
6oz Softened butter
3 Eggs, beaten and mixed with ½ tsp each of vanilla and almond extract (optional)
A few drops of red food colouring, use sparingly!
For Yellow sponge
Same as above but with yellow food colouring
1lb marzipan, the standard packet is just under this weight I believe, bakers treat while you’re baking!
Apricot jar, enough to spread over the sections of cake
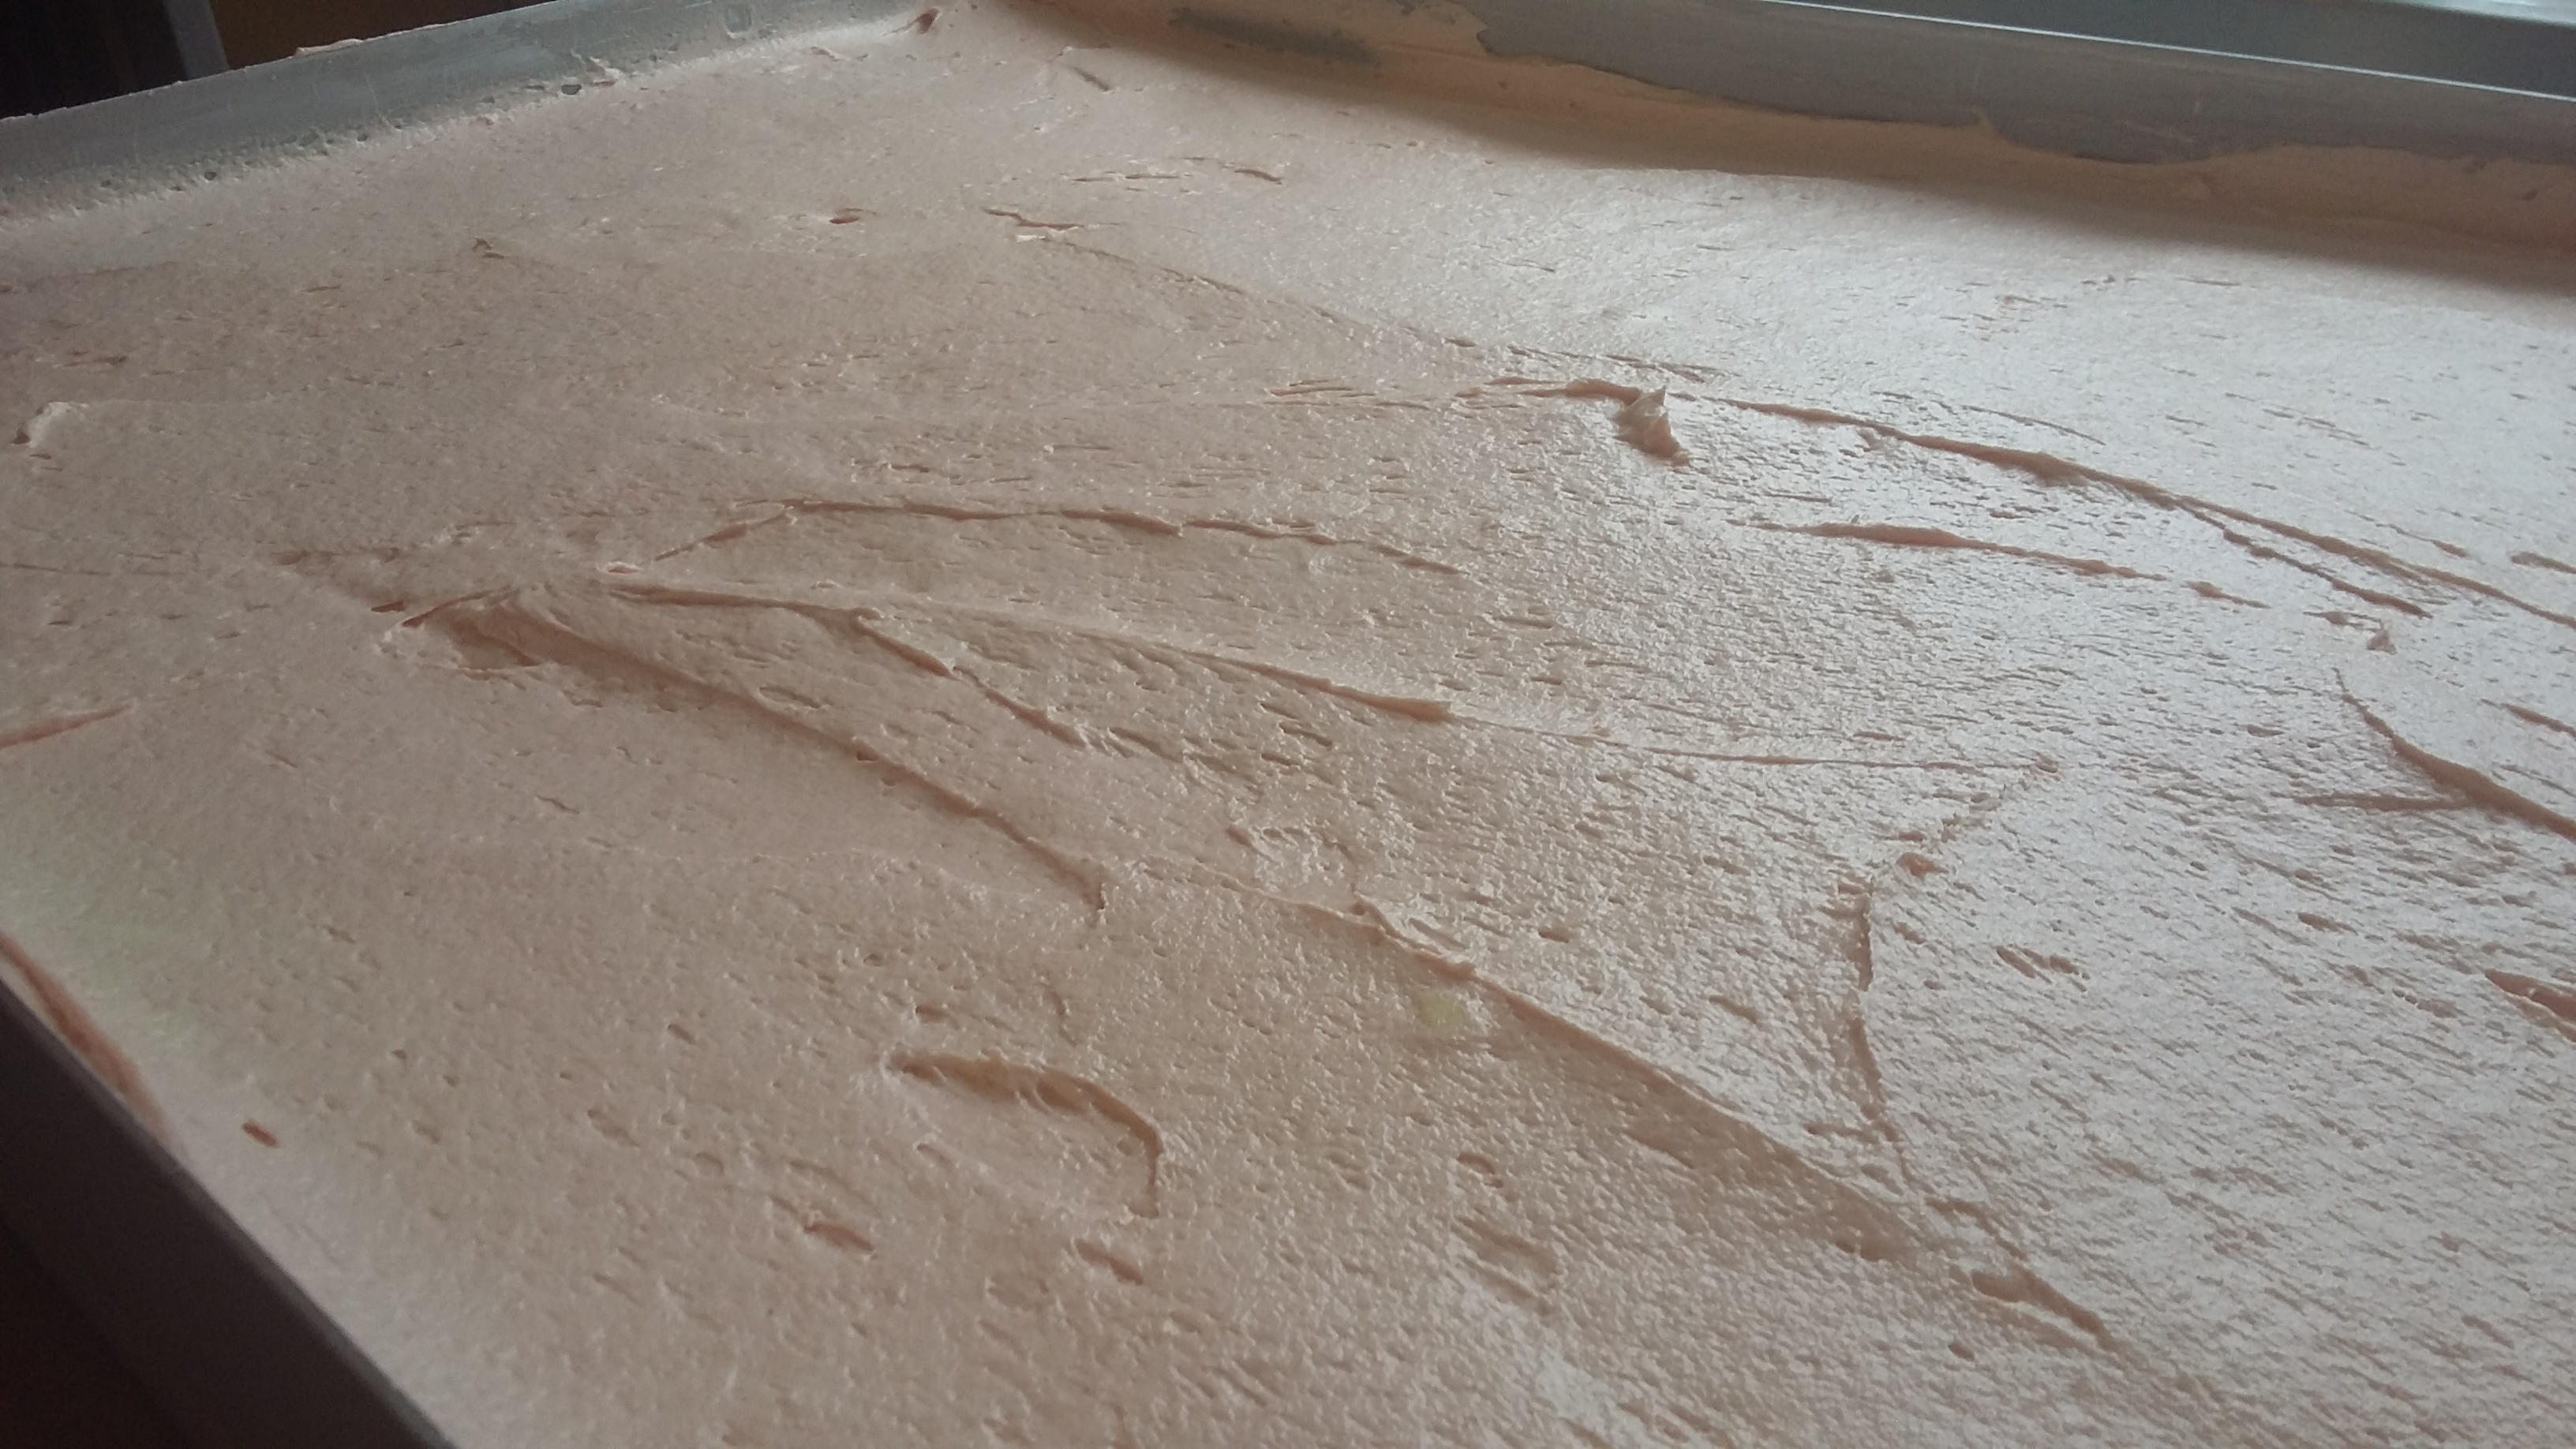
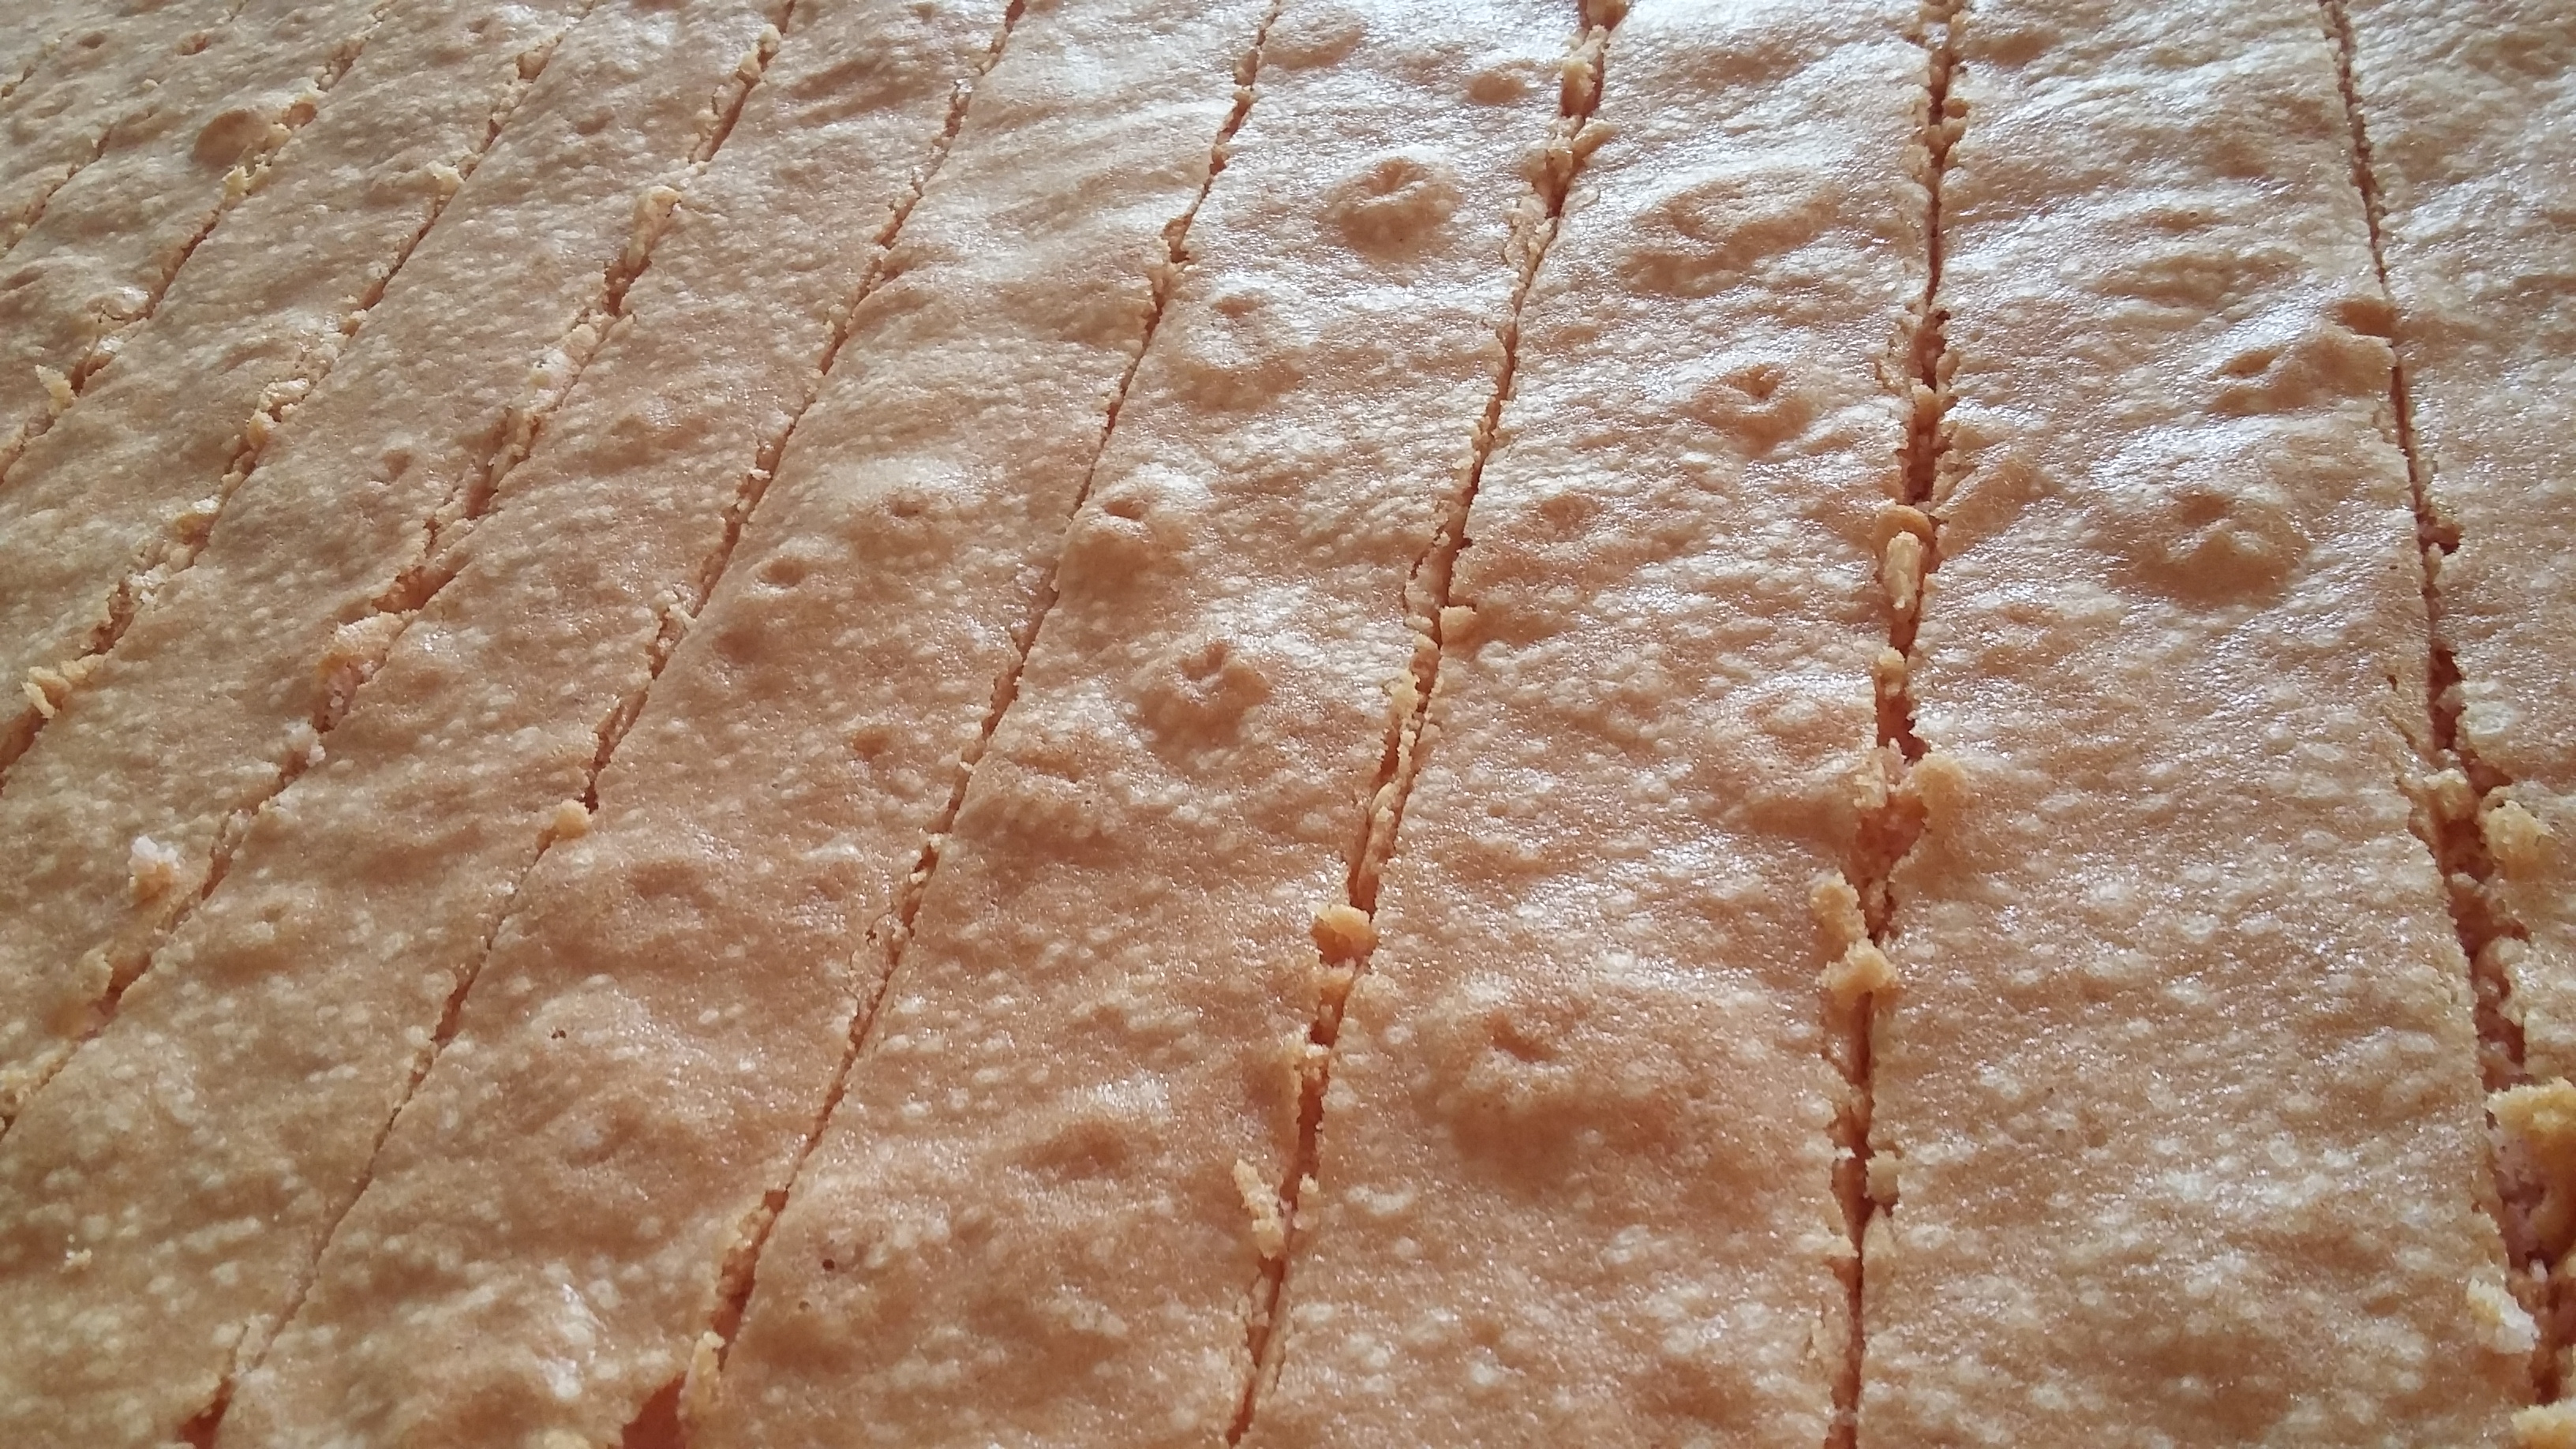
Method (Photos from a lot of the stages are included above)
Grease and line two 8inch square cake tins and preheat your oven to gas mark 4.
Cream together the butter and sugar until light, fluffy and very pale in colour.
Add in alternate amounts of flour and the beaten egg, vanilla and almond extract mix, a little at a time.
Add your food colouring carefully, without knocking any air out of your mix unnecessarily, pour into your prepared cake tin.
Repeat the above method with the other colour.
Bake your sponges for 25-30 minutes, or until a skewer comes out clean and cool in the tins for at least 15 minutes, or ideally until cooled completely.
Divide both sponges into two, if they have risen at different levels or look uneven, just give them a small trim to that they match, and sandwich with a little apricot jam.
Roll out your marzipan to the desired thickness and dimensions (a certain person I know likes theirs as thick as the sponge!) and paint a layer of jam onto the surface – doing it this way will avoid getting pesky crumbs in your jam!
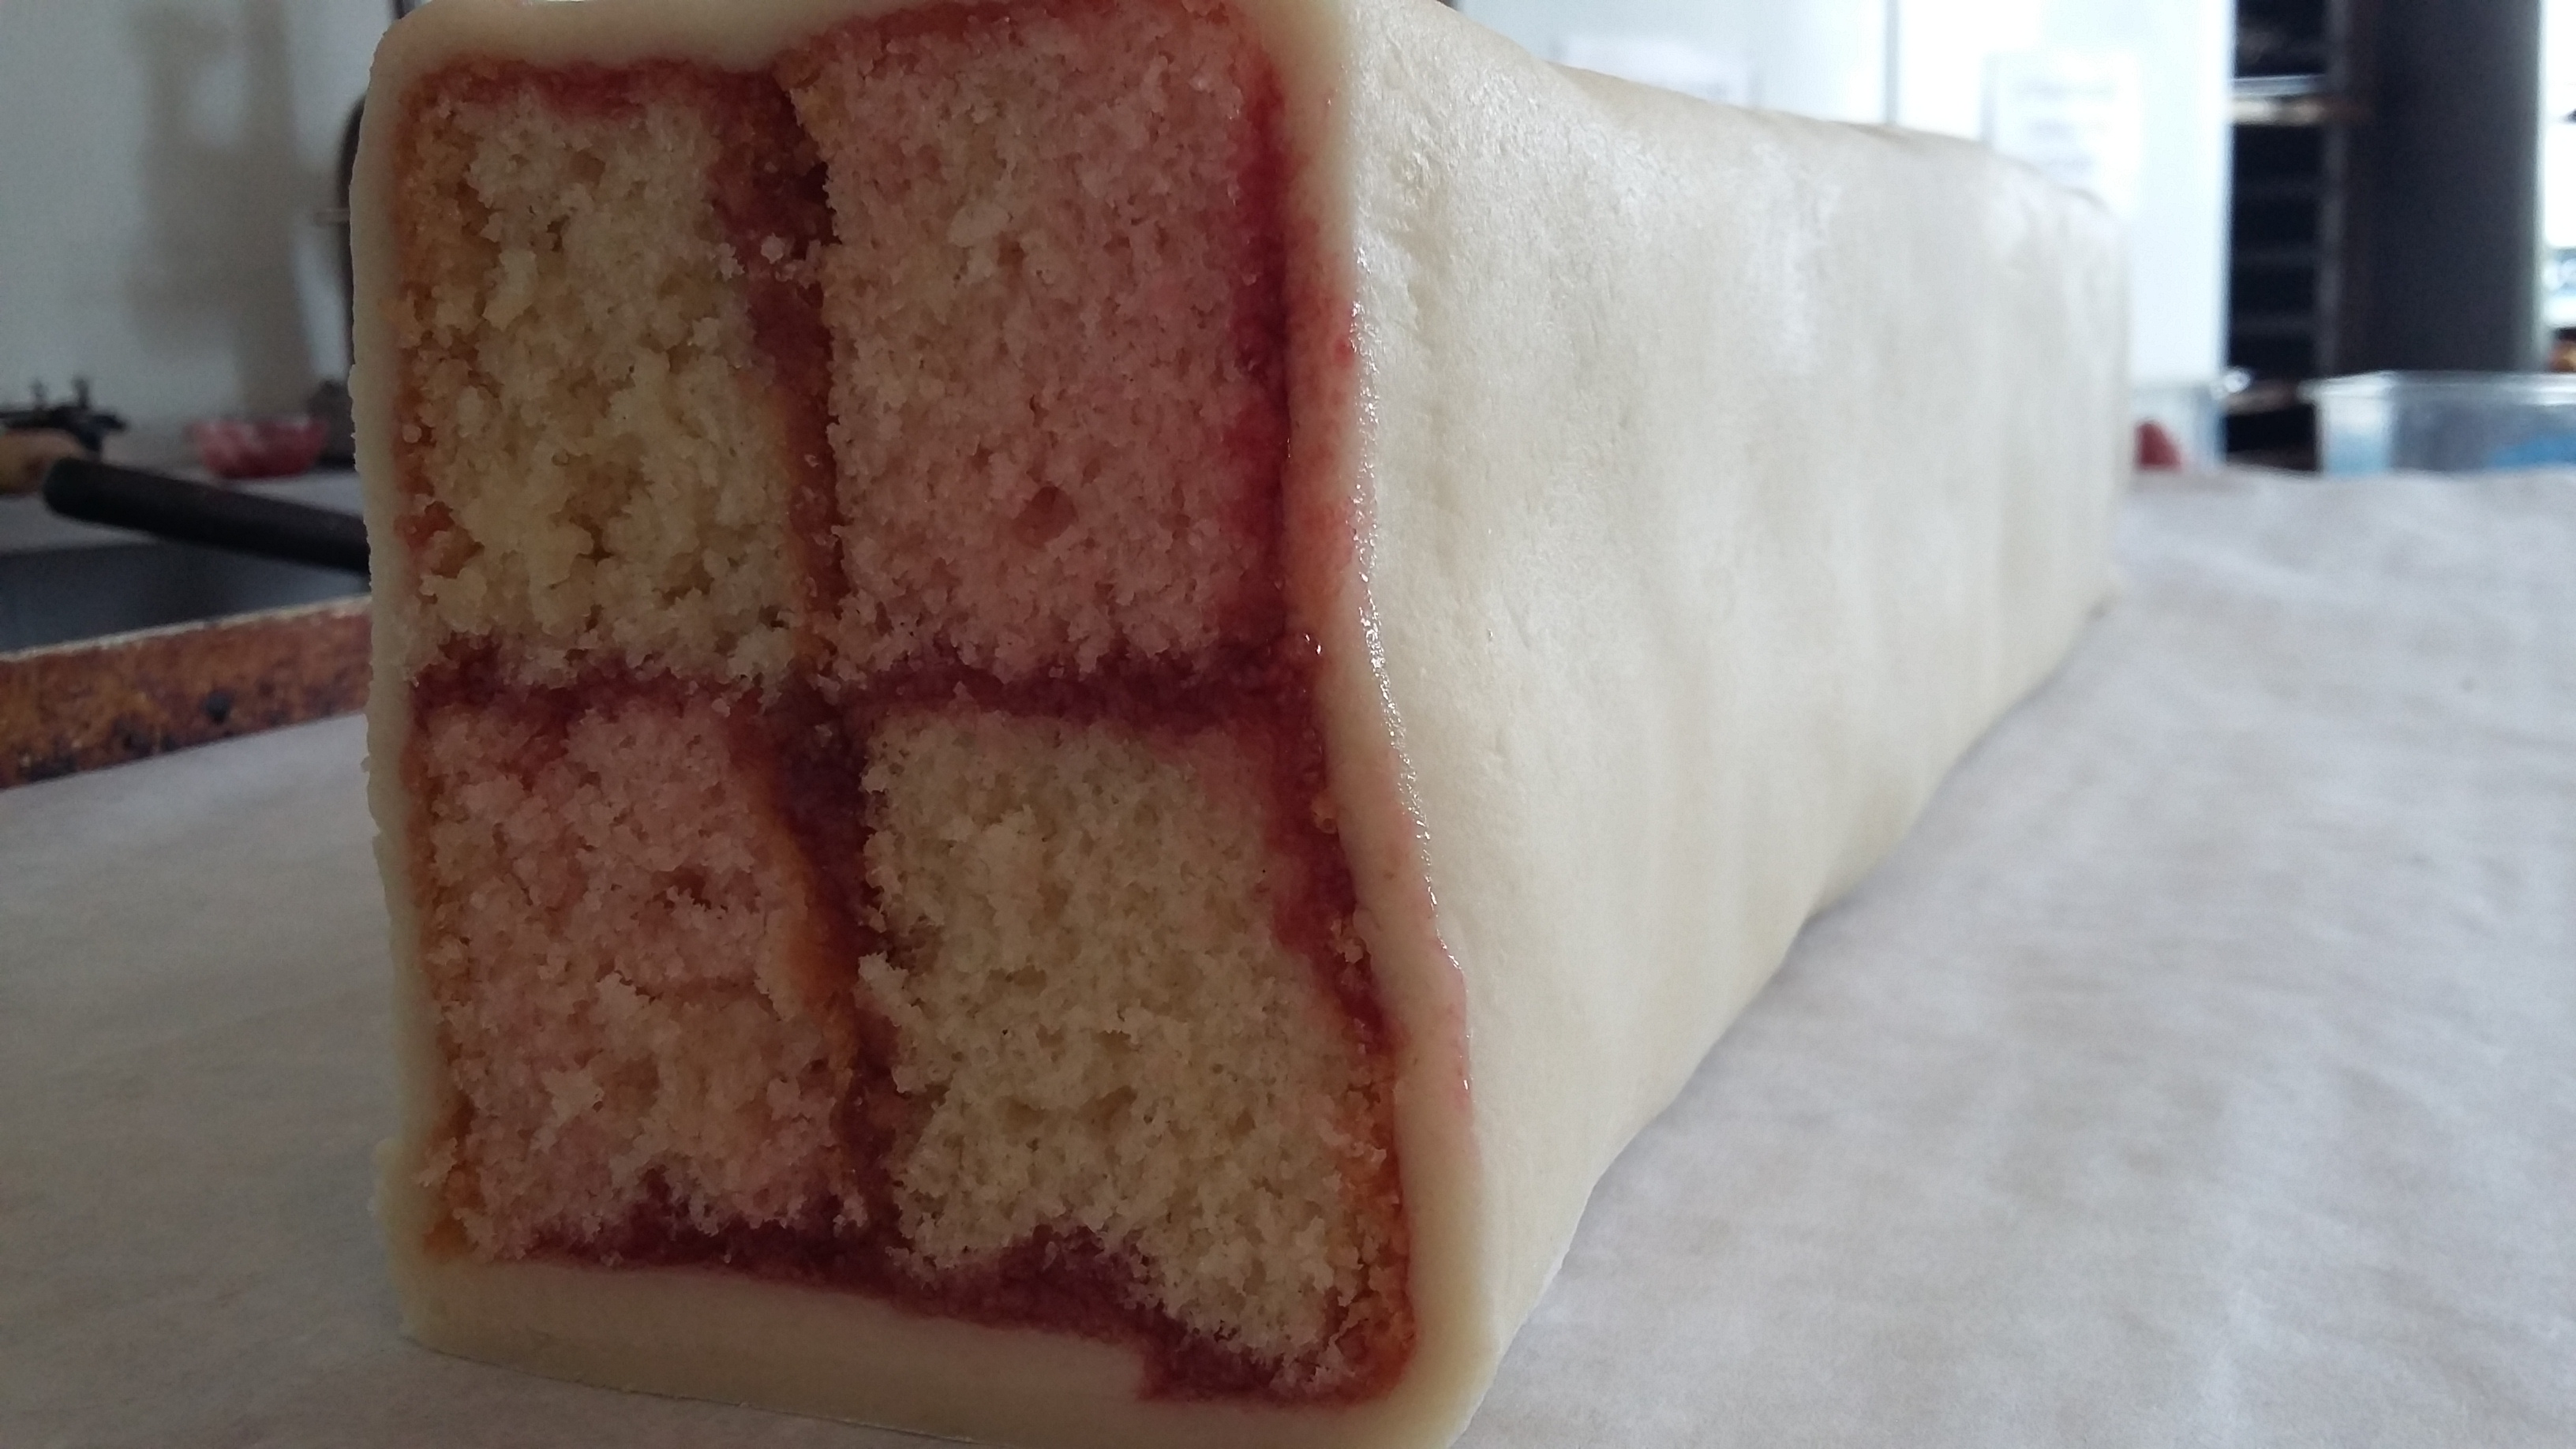
This is can be the tricky part – place the sponge in the middle of your measured marzipan and bring over one side over the sponge at a time, as if you are wrapping it in a blanket. A good trick is thinking of the jam as glue, so brush a small amount onto the marzipan where the seam overlaps as this will help it stick.
Make sure the marzipan is wrapped quite tightly to the sponge, as if it’s too loose it could slide off the sides, a common Battenberg disaster!
Smooth the sides with your hands gently, the more square your edges the more authentic it will look, although a slightly lumpy cake also has its merits of looking very homemade!
I would leave the cake to settle for a few minutes before flipping over to the marzipan seam is on the bottom, remember that the sponge inside is quite delicate.
Ta da – You have a finished Battenberg cake! Now sit down with a wodge of cake and a cuppa, you have deserved it!
