Coconut Haystacks
There are some recipes that always seem to bring a sense of nostalgia when speaking to visitors. A treat that was always made in a Grandmothers kitchen, or a family favourite torn out of a magazine long since faded but always remembered, food really does have the power to take you back to a time gone by. One of the items in Joseph Herron’s Bakery in our 1900s Town that seems to have that power is coconut haystacks. As they are so simple to make, and with very few ingredients, they are an easy go to recipe to make with children, which is probably why so many people have fond memories making them when they were young, usually using an egg cup as a mould, I know this is certainly how I used to make them!
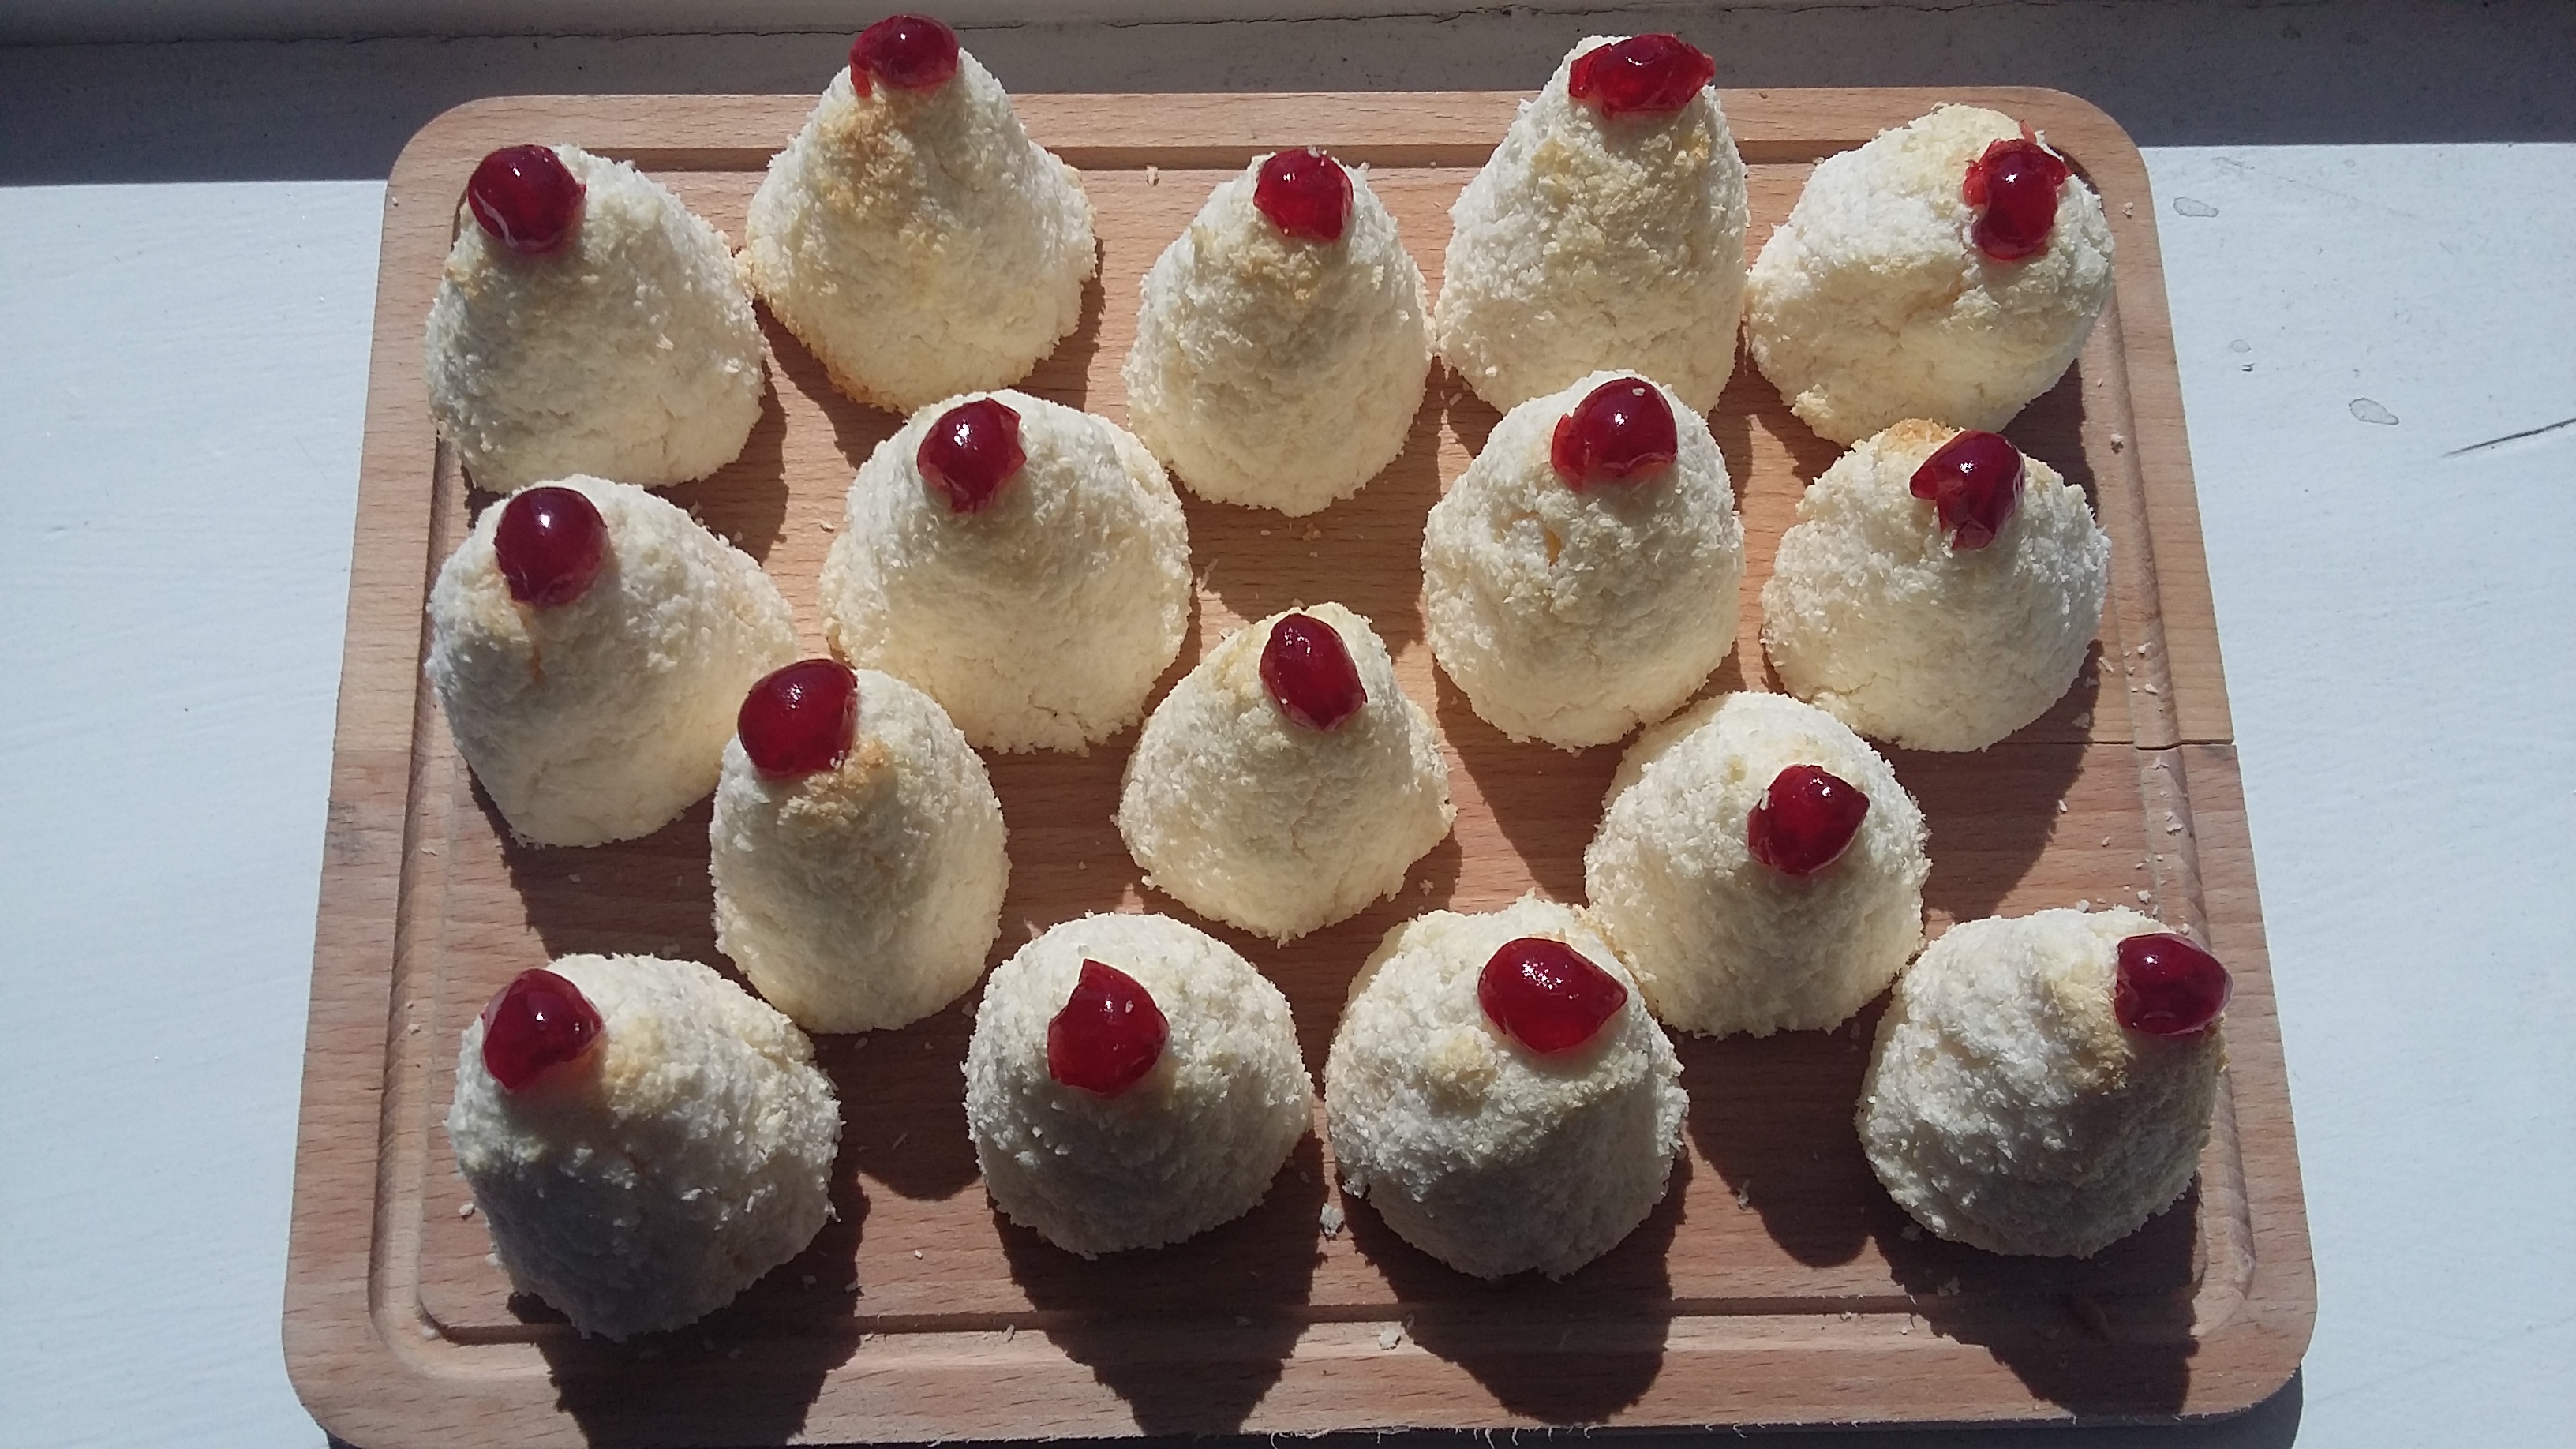
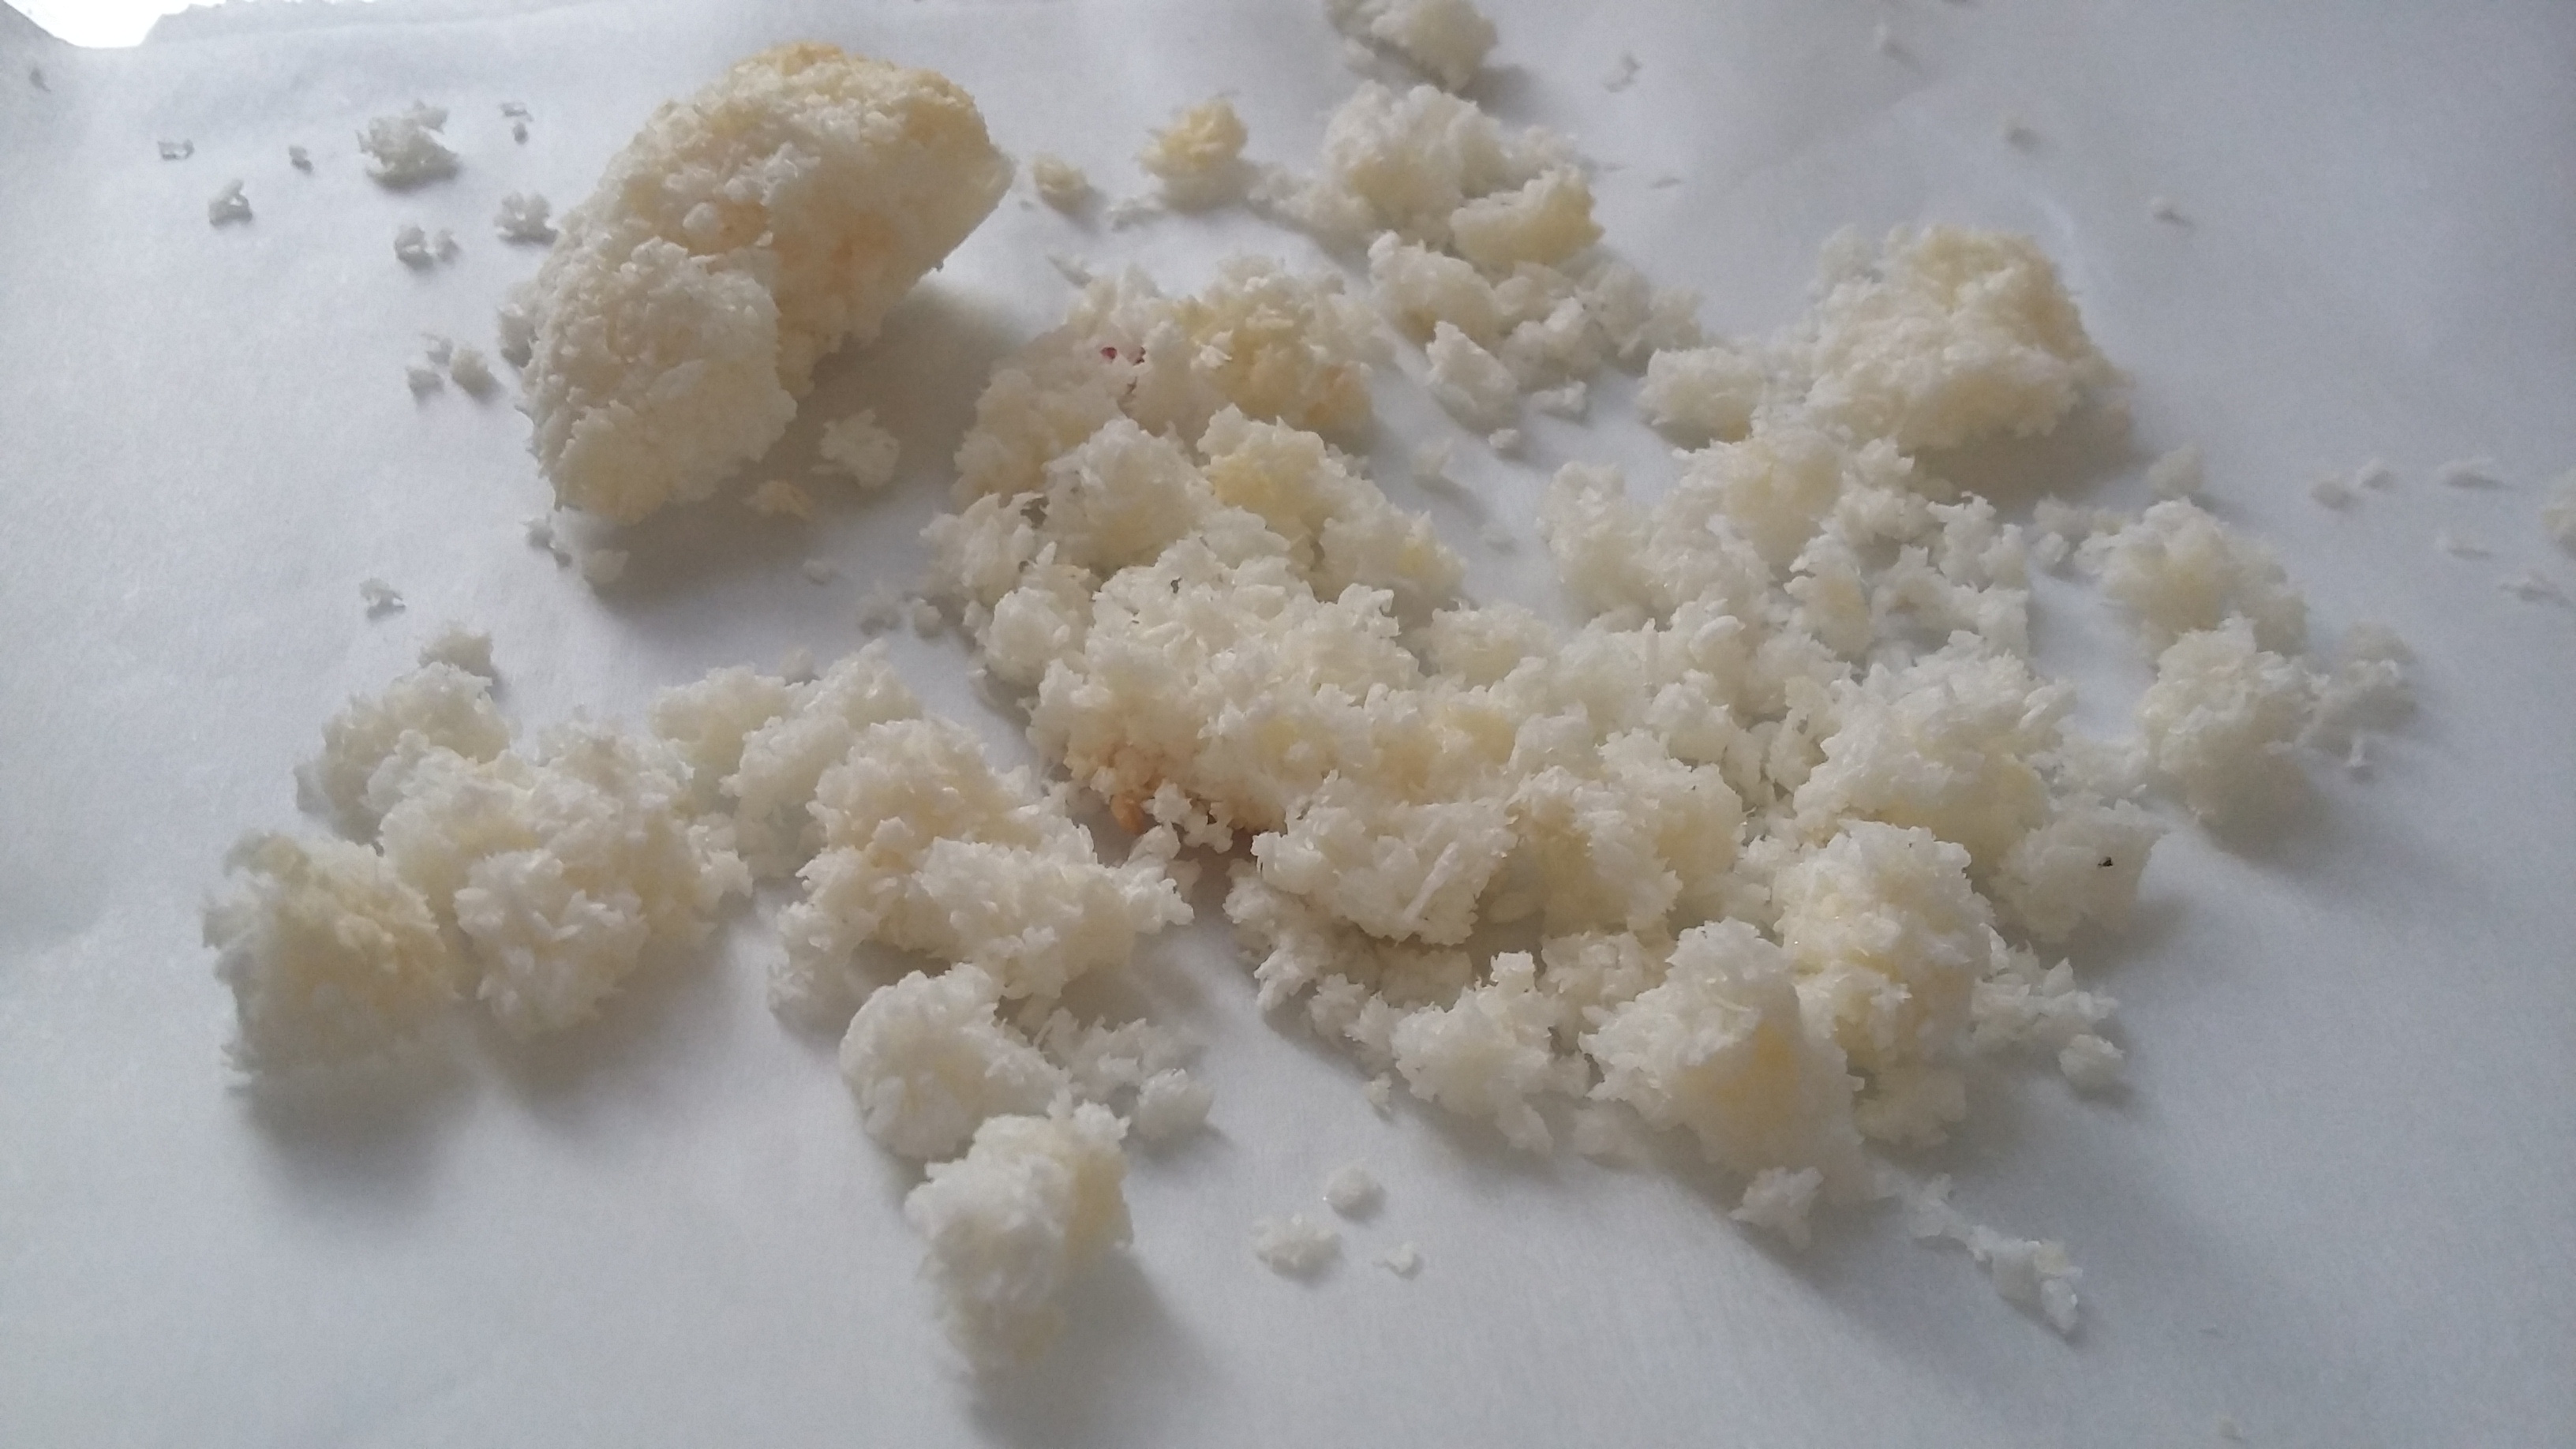
These coconut beauties are a regular favourite in the bakery and as one of our gluten free recipes they are very popular! As you can imagine our usual recipe makes perhaps a few too many for a sunny Sunday afternoon baking with the family, so we had a lot of fun (the crumbs are photographic evidence!) scaling down our usual amount to something a bit more suitable for our lovely visitors if you do wish to give them a try! As you can imagine, the usually preferred ‘eggcup technique’ to shape the haystacks is a tad leisurely in pace for our busy bakery, so you can always tell which member of staff made them as we all prefer slightly different shapes, mine are always slightly-larger-than-they-should-be pyramids, so keep an eye out for them!
Ingredients (makes 18)
12oz Desiccated Coconut
5oz Caster Sugar
3 Eggs
7oz Condensed milk (half a standard tin)
Method
Preheat your oven to 170°c
Line a baking sheet with greaseproof or parchment paper
In a large bowl mix the coconut and caster sugar until combined
Beat the eggs then add into the coconut and sugar, slowly adding the condensed milk. Tip: Depending on the brand and how long the coconut has been in your cupboard, you may need to add a little less or a little more of the condensed milk as desiccated coconut can dry out a lot if the packet has been open a while, it should be the consistency of damp sand. Do not worry too much about the texture, they ‘dry out’ rather than bake in the oven so if the mixture is too wet they will just need a tad longer in the oven!
Once you have your mixture, form into small balls, or pyramids if you are feeling braver, a little larger than a golf ball.
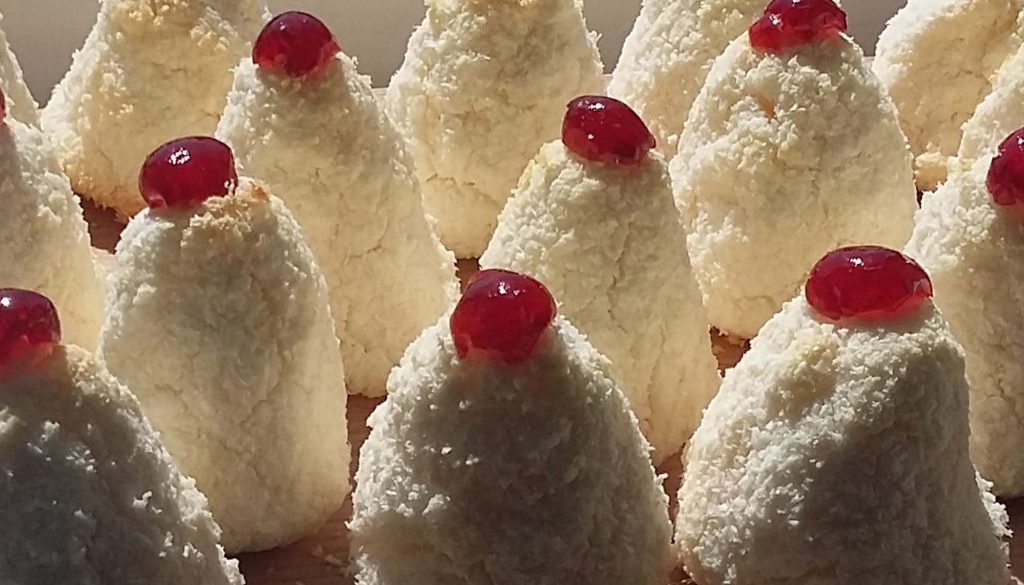
We decorate ours with half a glace cherry on top, but if you would prefer, leave the cherry off and drizzle with the chocolate of your choice after they are cooled.
Bake for 15-20 minutes, until they are just starting to colour.
